ปรับปรุง เว็บไซต์ เยอะแยะเลย ลองกดเข้าไปเล่นดูสิ ตอนนี้ มีหมอตั้ม มาประจำที่ โรงพยาบาลแล้วนะครับ ใครมีปัญหาปลาป่วย ปรึกษาได้ครับ


Arowazone เว็บบอร์ด สำหรับ เพื่อนๆ ที่รักการเลี้ยงปลาในครอบครัว Osteoglossidae ไม่ว่าจะเป็นอะโรวาน่าจากทวีปเอเชีย อเมริกาใต้ ออสเตรเลีย หรือ อัฟริกา ไว้พูดคุย แลกเปลี่ยนความคิดเห็น
อุปกรณ์เลี้ยงปลาสวยงาม จากเว็บช้อปปิ้งชั้นนำ

195 บาท205.00 บาท
330 บาท610.00 บาท

1,700 บาท1,785.00 บาท
ความคิดเห็นที่ 1

ความคิดเห็นที่ 5
คุณต้องเข้าสู่ระบบก่อนทำรายการ
เข้าระบบกระทู้น่าสนใจอื่นๆ
ซื้อปลาทองมา อยู่ดีๆ มันกลายเป็นบลู
วื้อเพราะมันเป้น golden head สีทองอร่ามอยู่ในอ่างขาวครับเลี้ยงไปเลี้ยงมากลายเป็นบลูจริงจังมาก เอามาขอความเห็นจากเพื่อนๆครับ
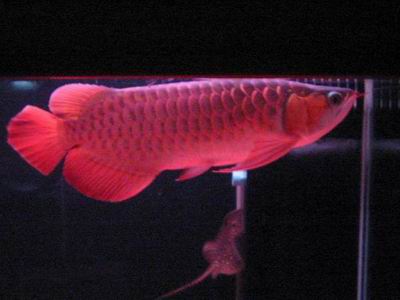
AROWANA SUPERRED ตัวนี้ยังไม่ได้ตั้งชื่อเลย
ปลาแดงตัวนี้ ตอนนี้15นิ้วได้ อยู่ในตู้กรองข้าง 60*30*30นิ้ว แต่ตู้นี้ไม่ได้ลดระดับของน้ำ ทำให้ความสูงของน้ำมากเกินไป มีเจ้ากระเบน โมโตโร่ เป็นเพื่อนร่
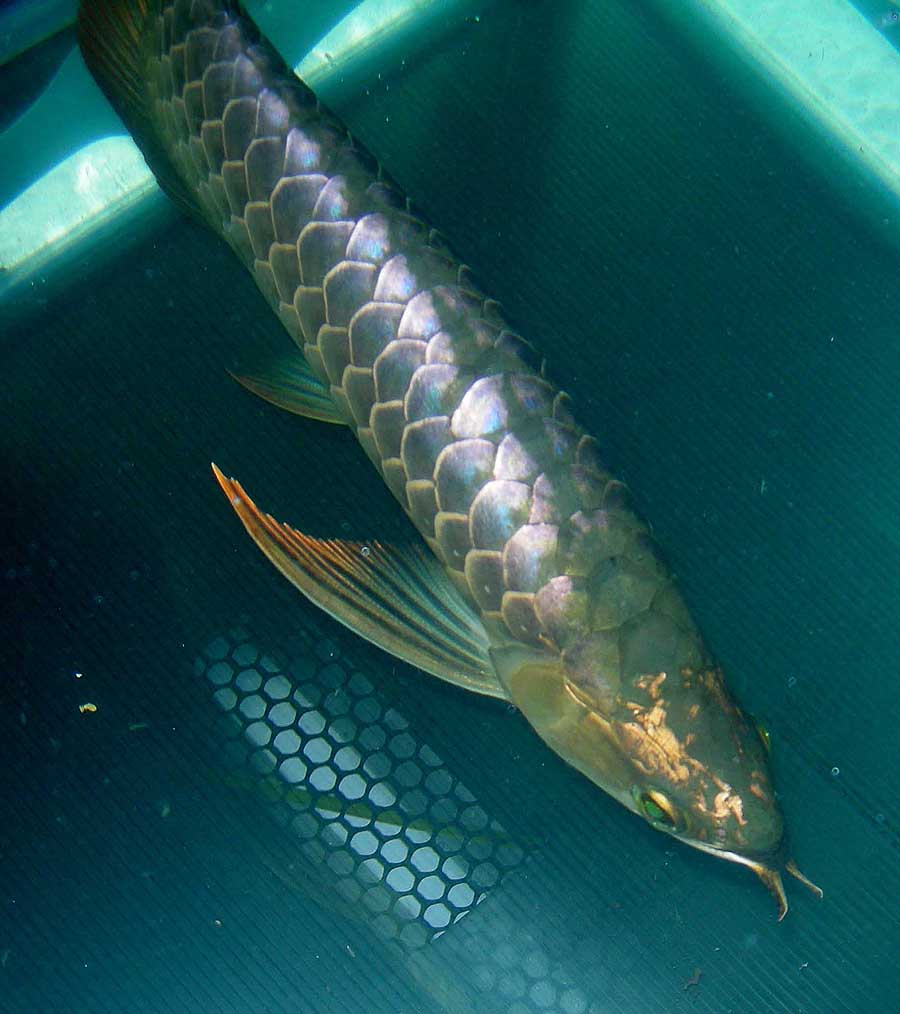
มังกรเขียว จ้าาาา จากสมาชิกใหม่
ขนาด 20 นิ้ว กว่า ครับเมท ปลากราย 2 ตัว กดเผือก 2 ตัว (ไม่เคยรังเเกเมท)อาหาร กุ้งชิ้นตู้ 60 นิ้ว กรอง D.I.Y เอง ครับ

สีอะไรครับ
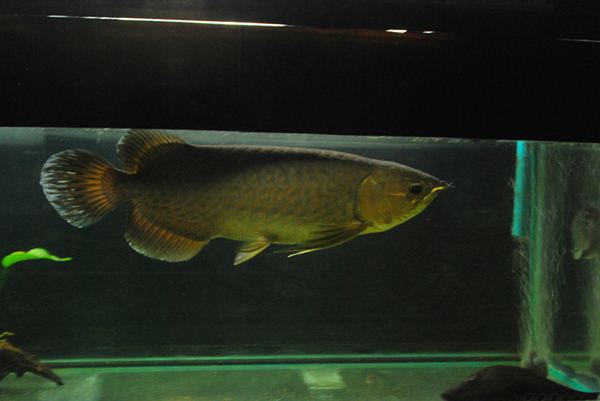
HB ของผมเกล็ดด้านในออกสีชมพูๆขอบสีขาวๆทองๆ พอโตขึ้นมันจะออกเป็นเบสสีอะไรครับ เห็นของคนอื่นทำไมสีเค้าชัดกันจัง T T

สถานีวิทยุเพื่อคนรักปลาสวยงาม "สังคมแห่งความรู้และมิตรภาพ"
ขออนุญาติประชาสัมพันธุ์ สถานีวิทยุเพื่อคนรักปลาสวยงาม "สังคมแห่งความรู้และมิตรภาพ" วิทยุเพื่อคนรักปลาที่อยู่คู่คนเลี้ยงปลามานานนับปี เชิญมา
อยากทราบเทคนิคและวิธีการถ่ายรูปอะโร